Table of Contents
- Creating a singular Invoice Event Booking
- Creating an Invoice Schedule
- Reserving an Invoice Event Booking
- Additional Invoicing. Can I create an invoice?
- Adding guests to Invoice Event Booking
- Voiding a Check-In and Removing Guests
- Event Example. Can I reserve an event without charging for it up front?
What is an invoiced event?
An invoiced event is where a single user pays for the event. Common examples of these would be birthday parties and group events with one host/buyer.
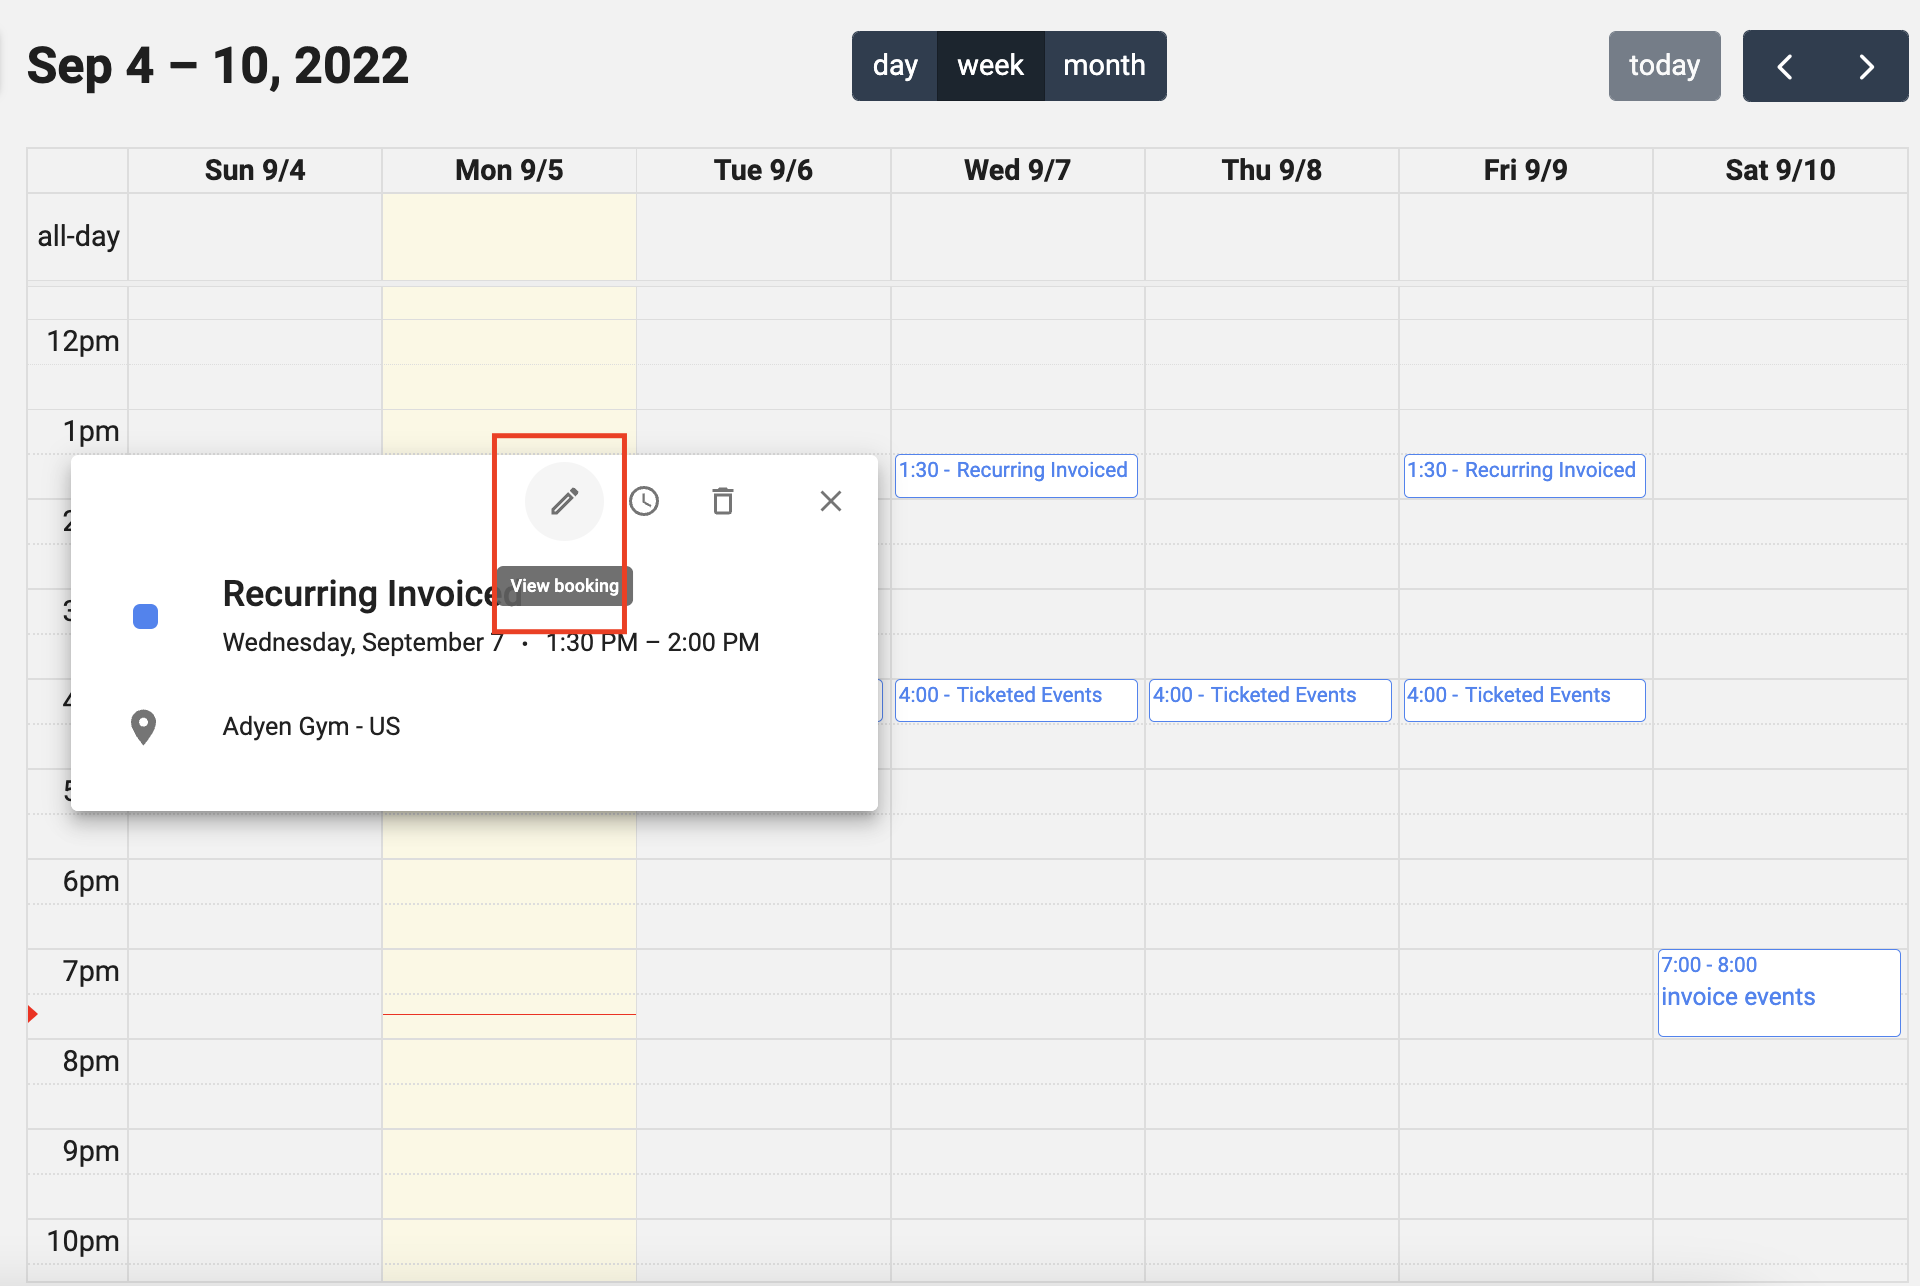
Creating a singular Invoice Event Booking

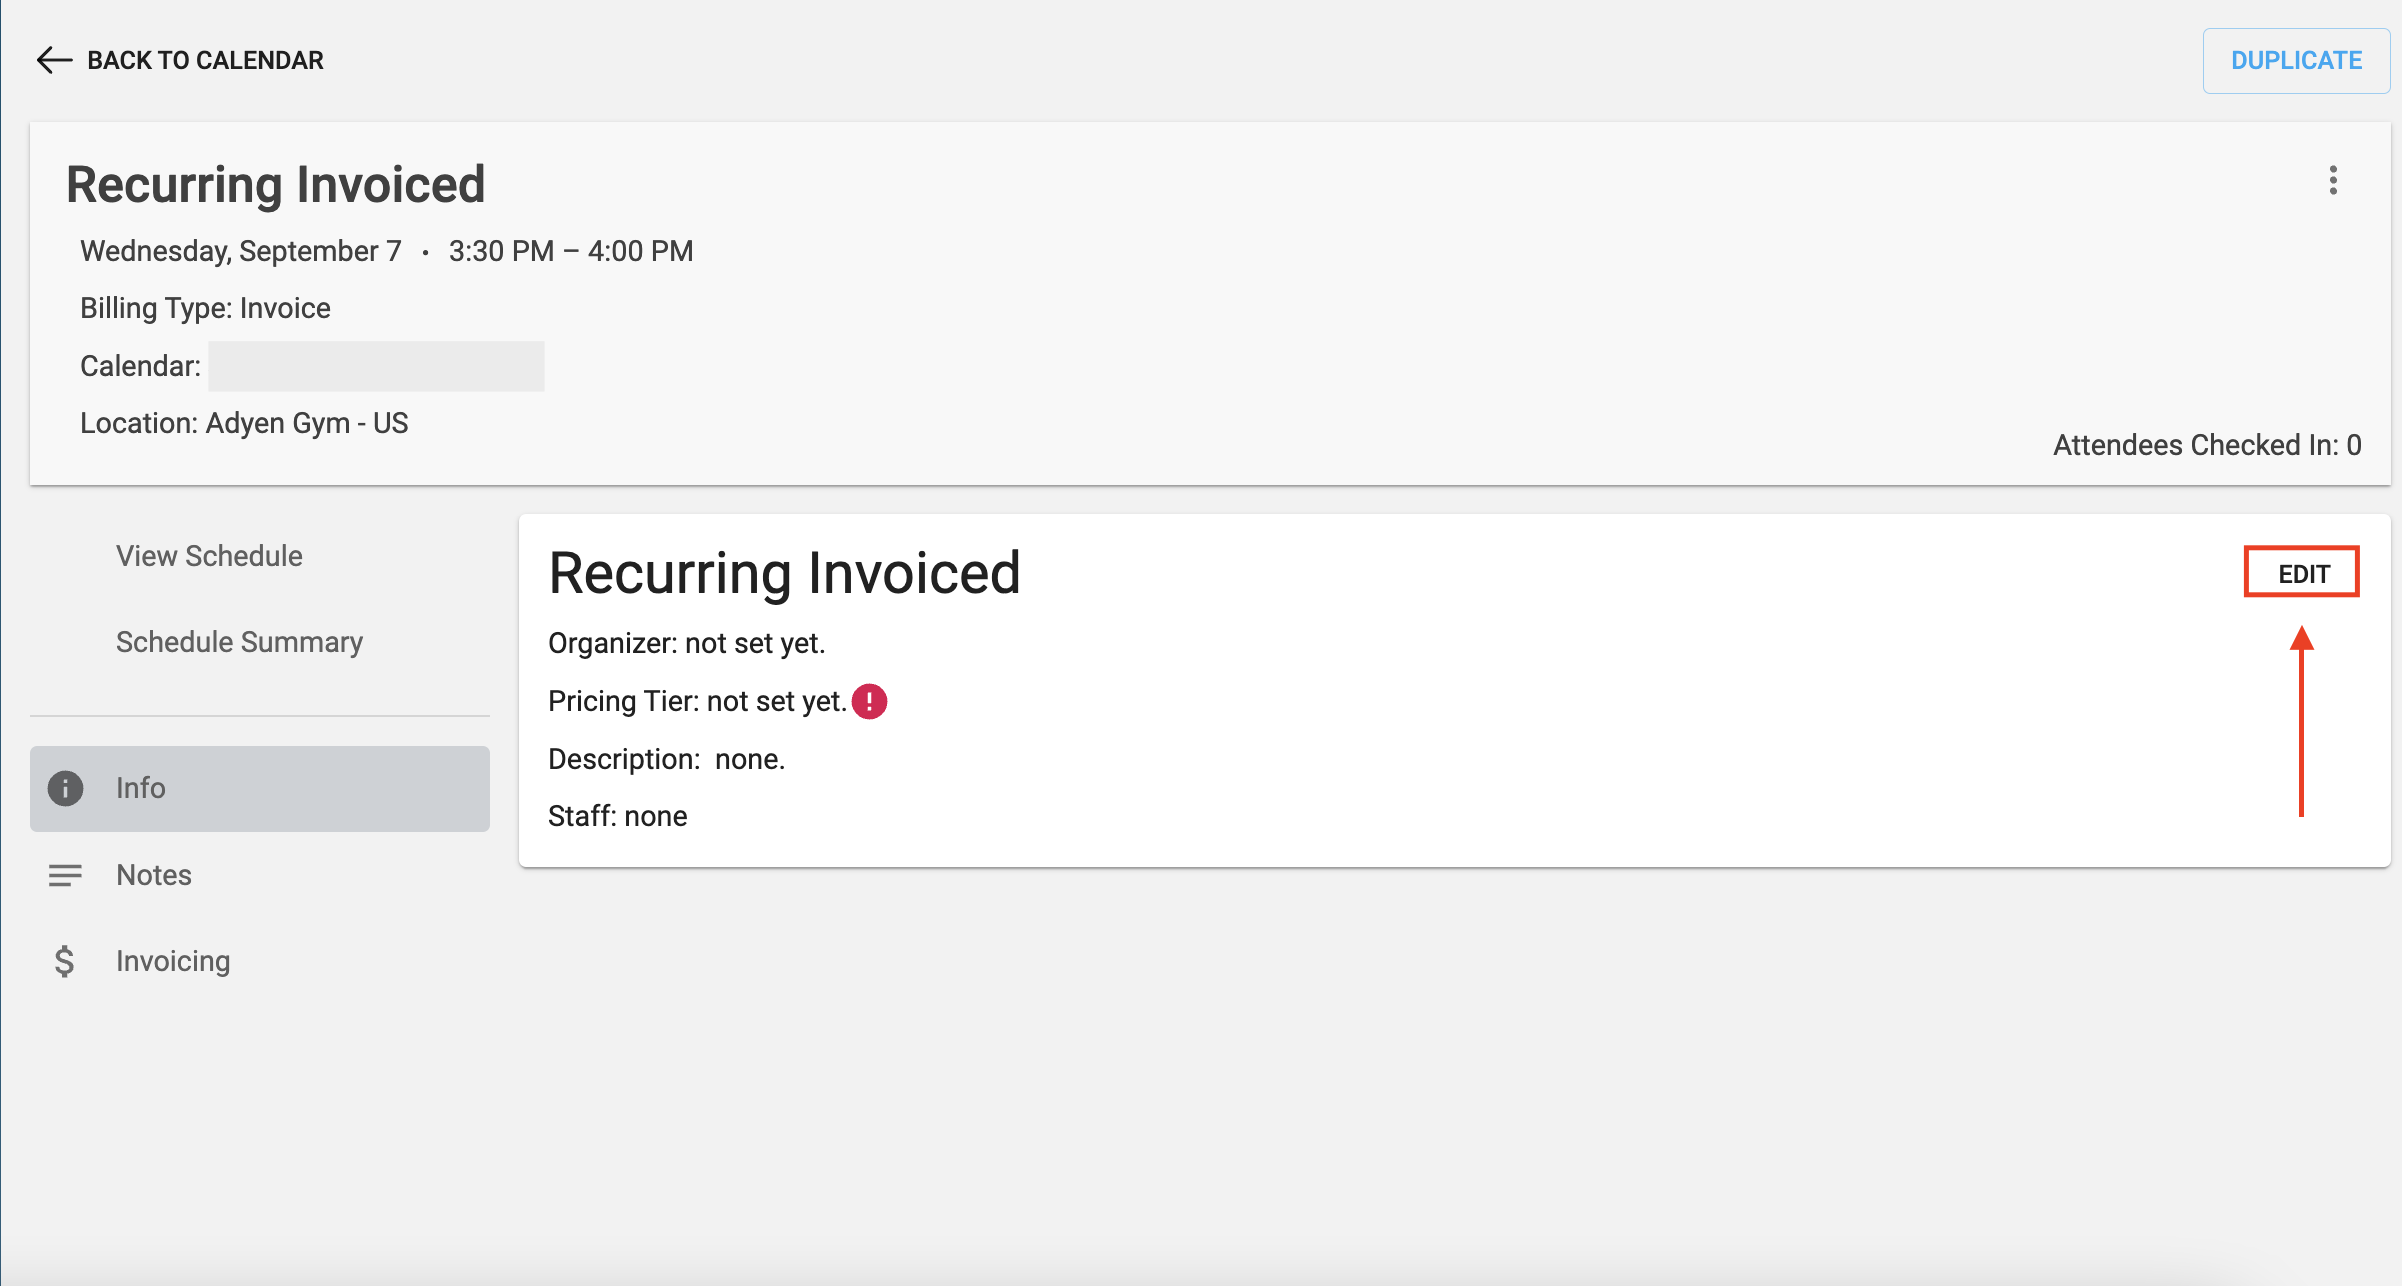
Next, fill out the needed fields as described below:
-
Title and Calendar
-
Date, Time, and Recurrence
-
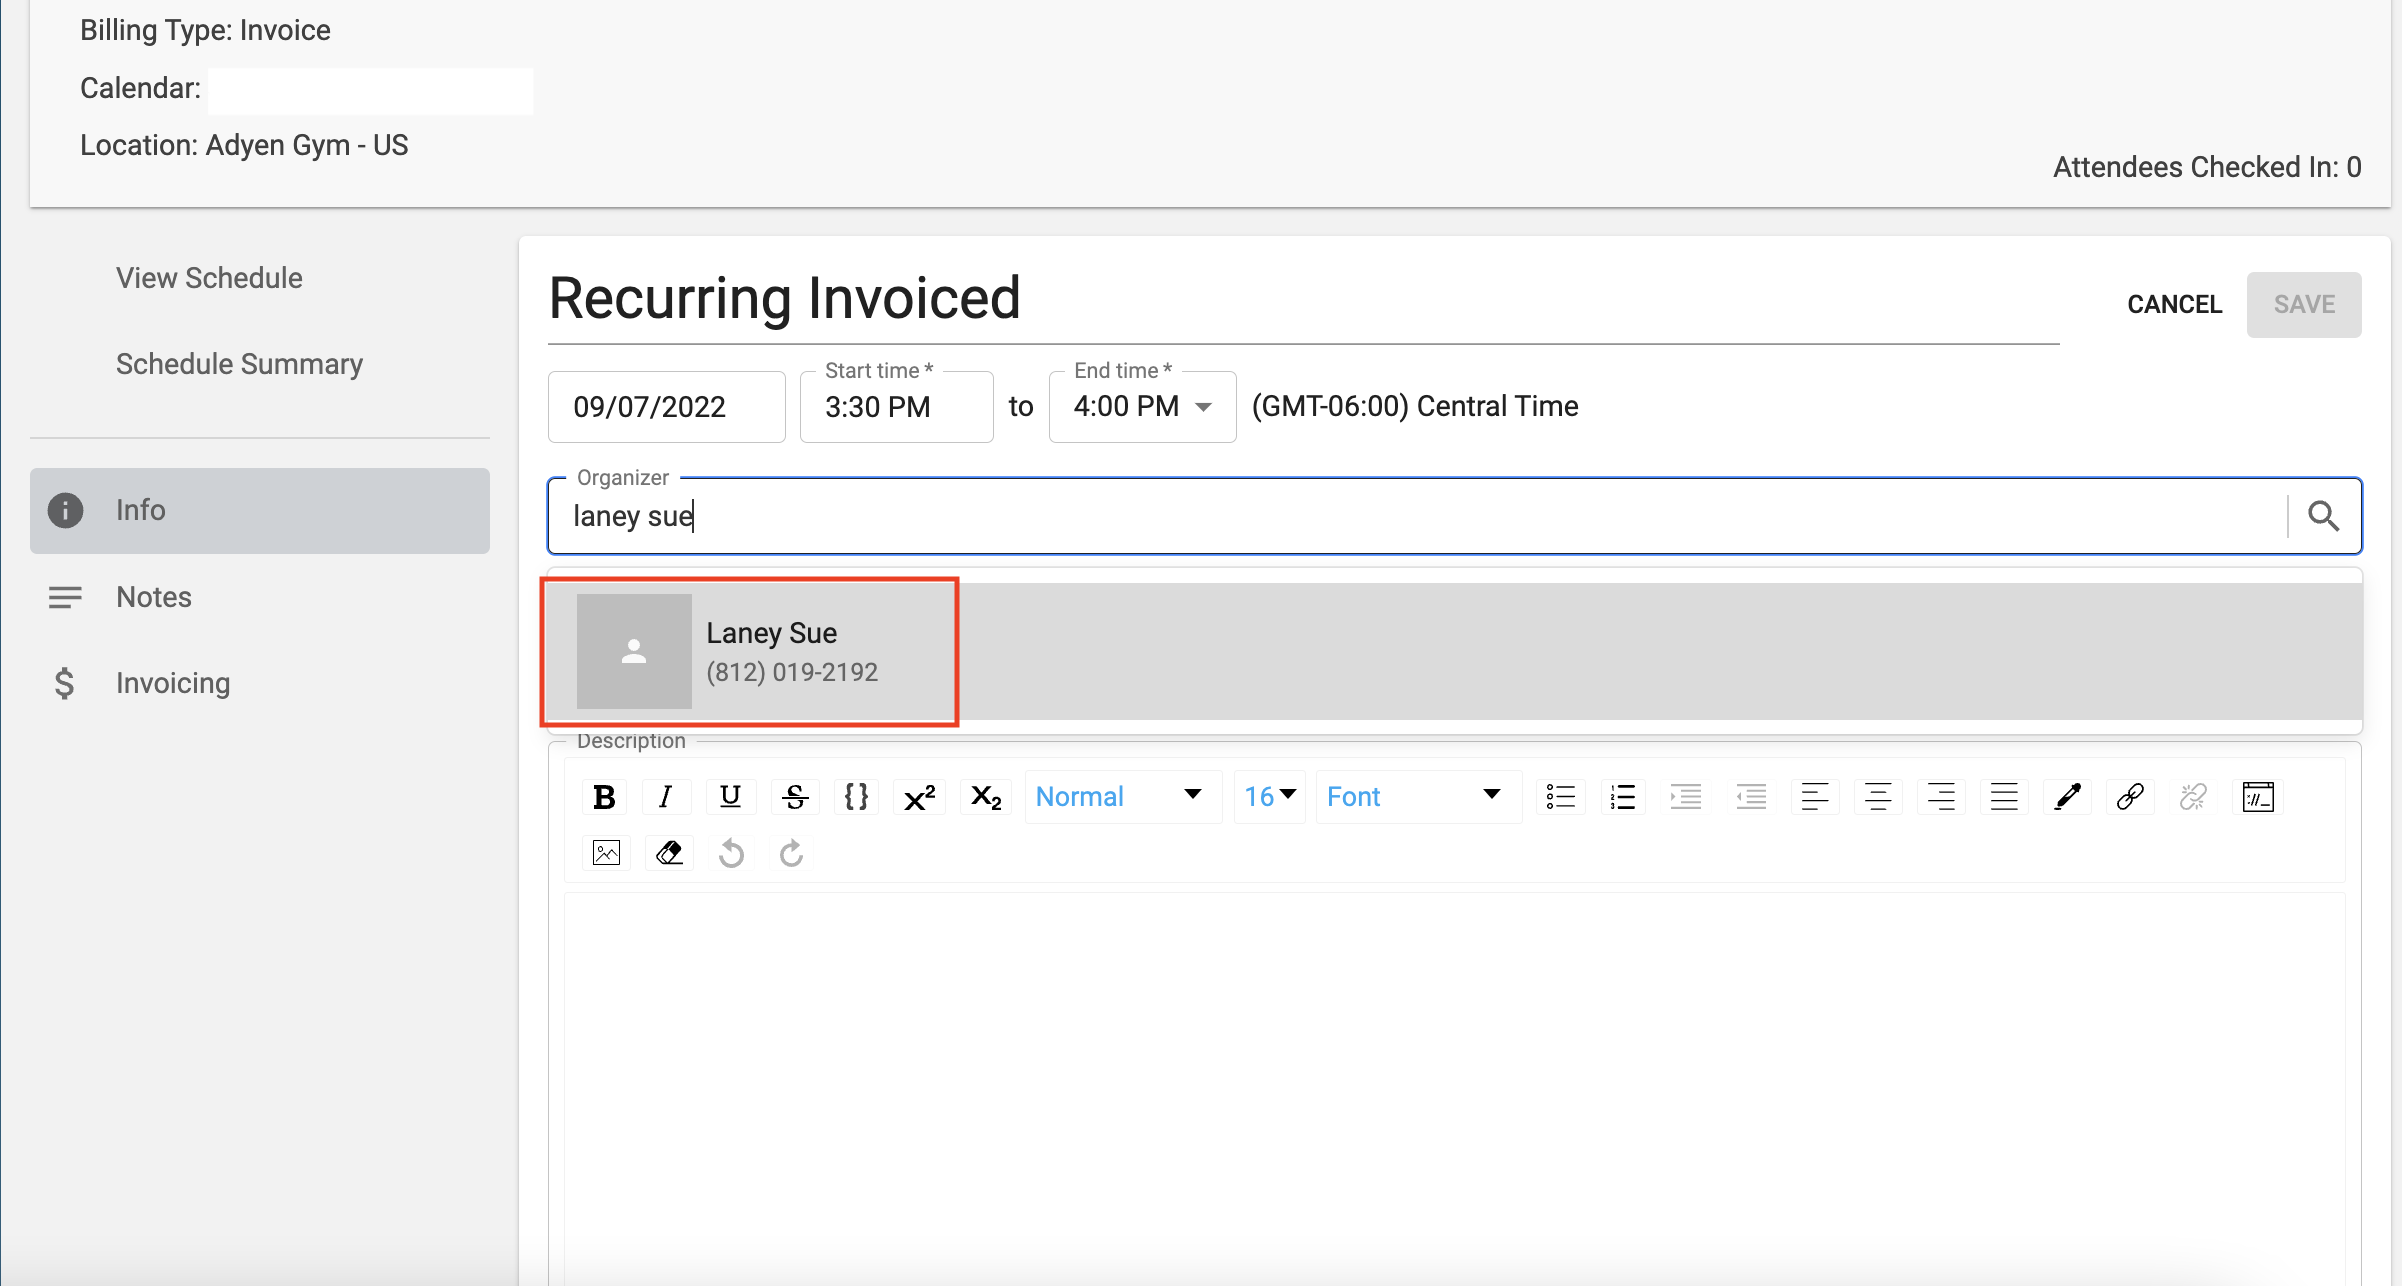
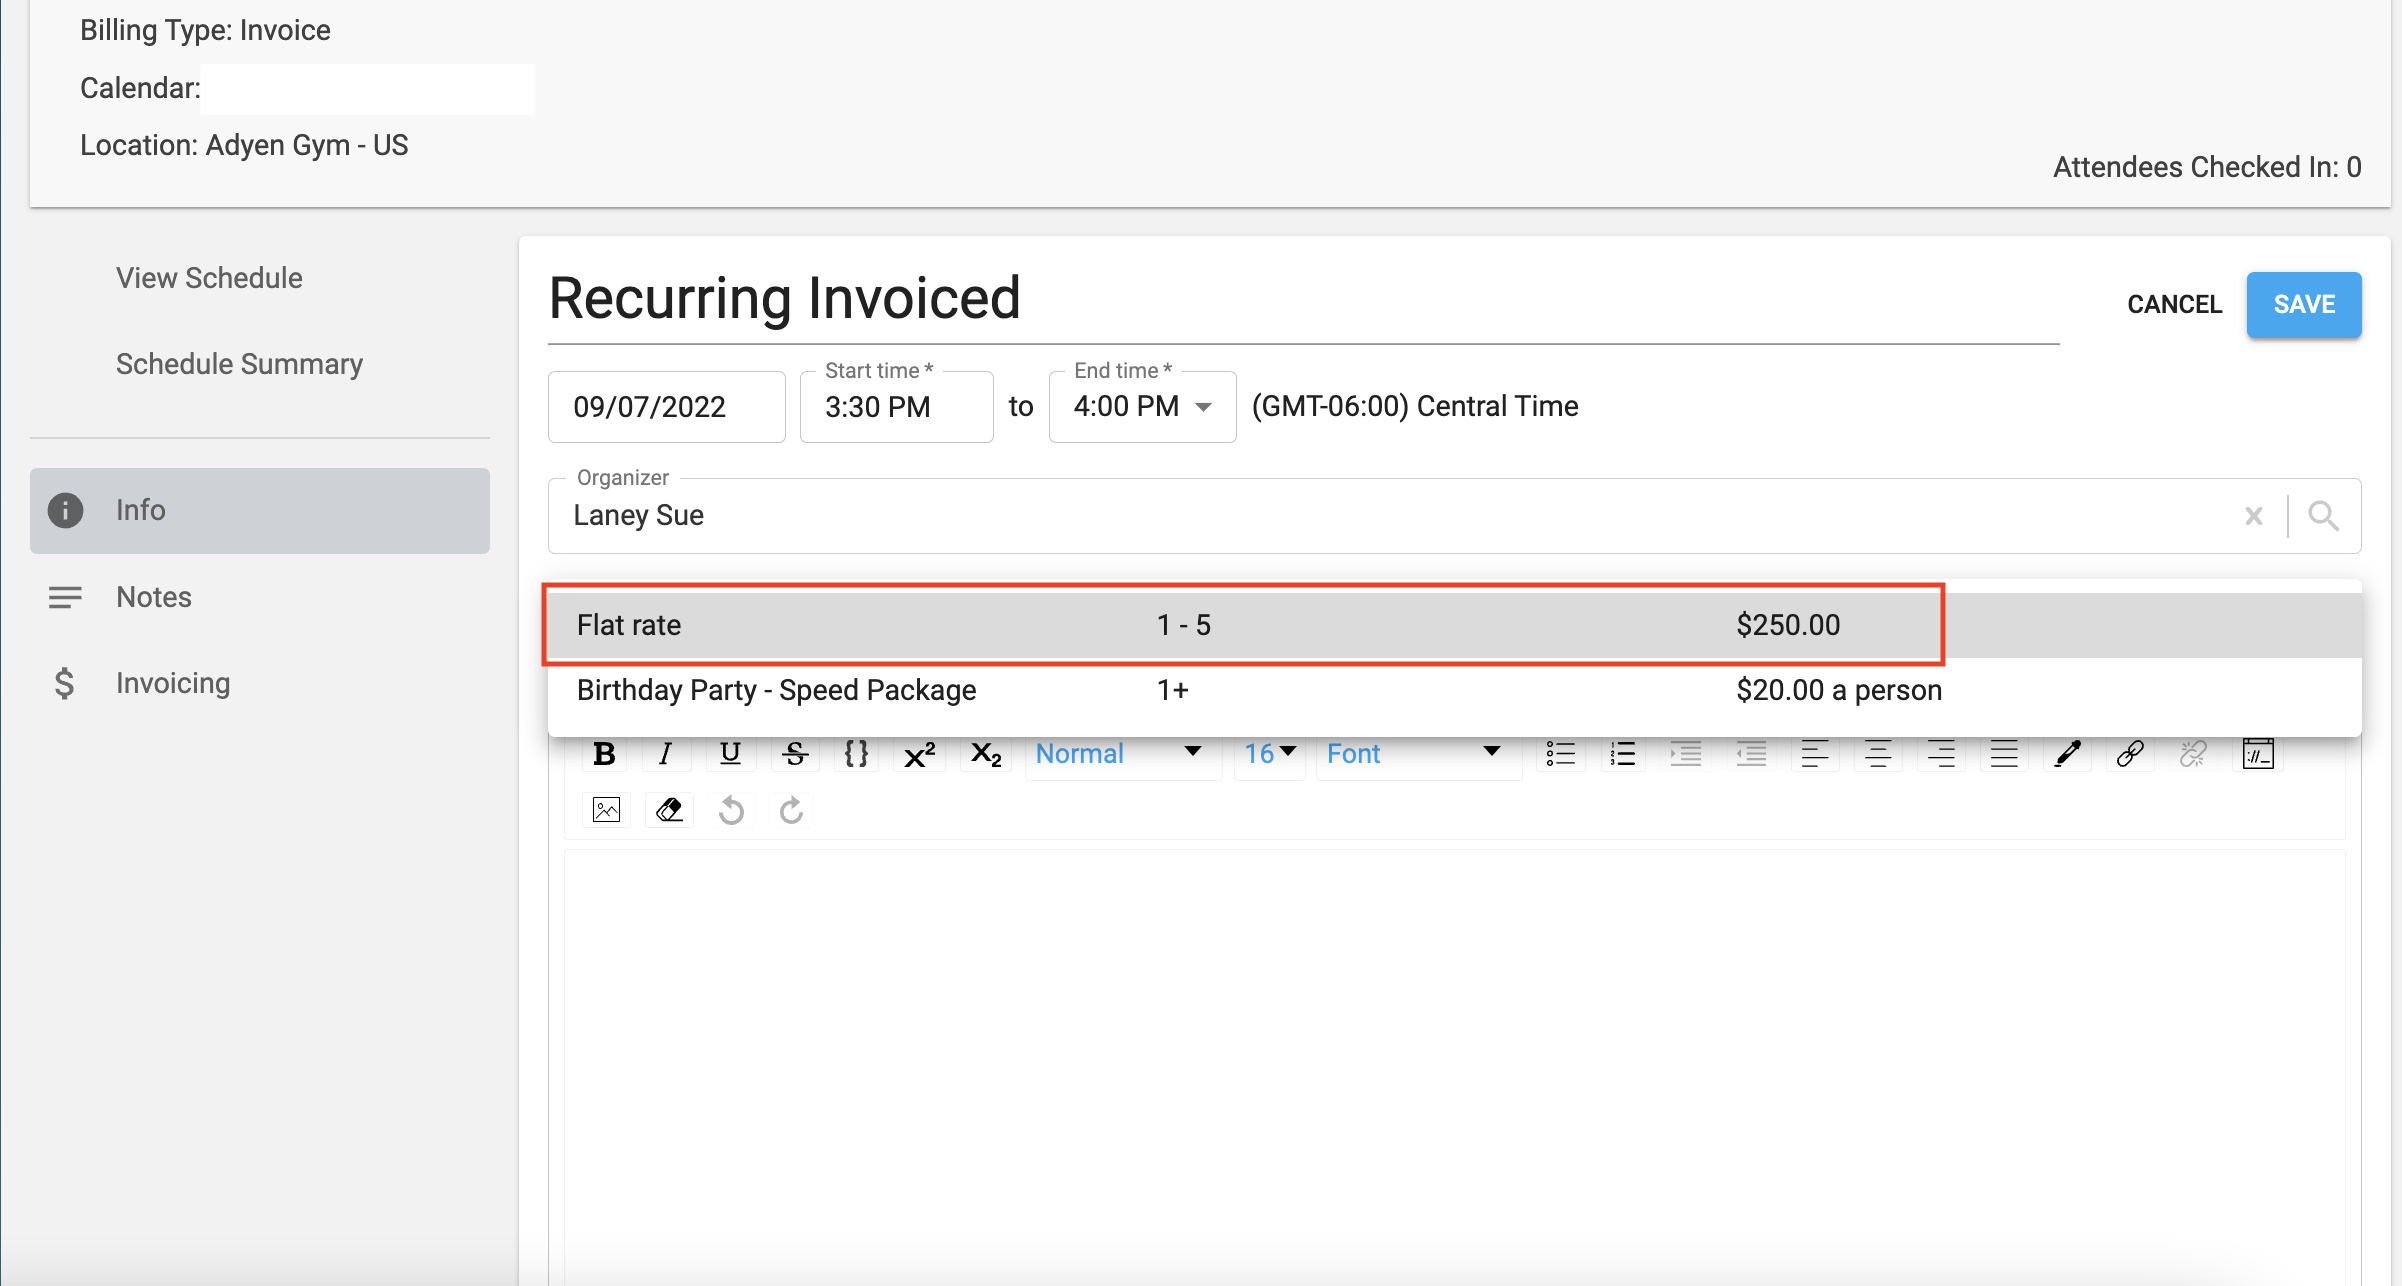
Billing Type, Organizer, Pricing Tier
-
Description, Photo, Staff, and Form
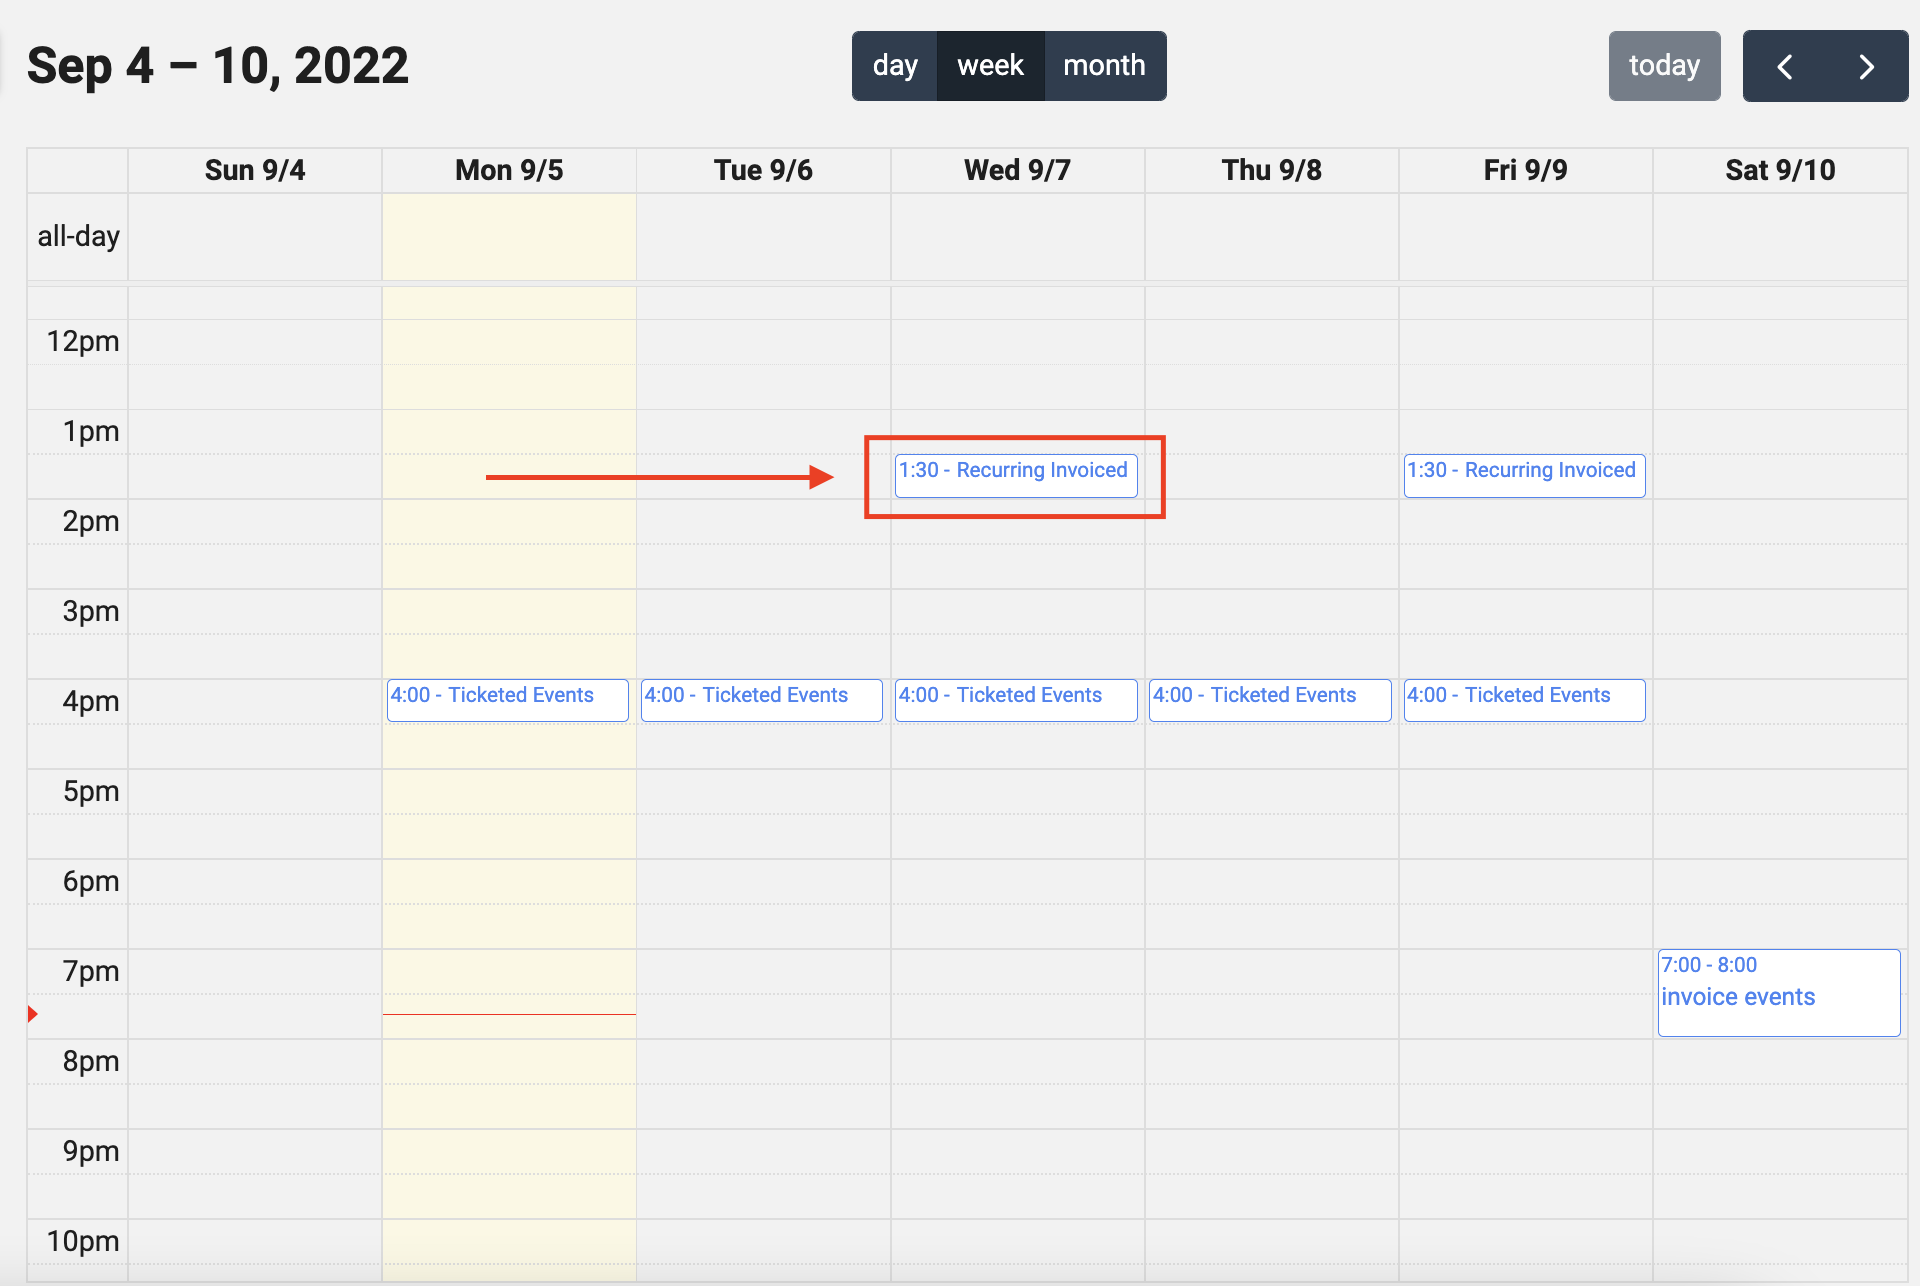
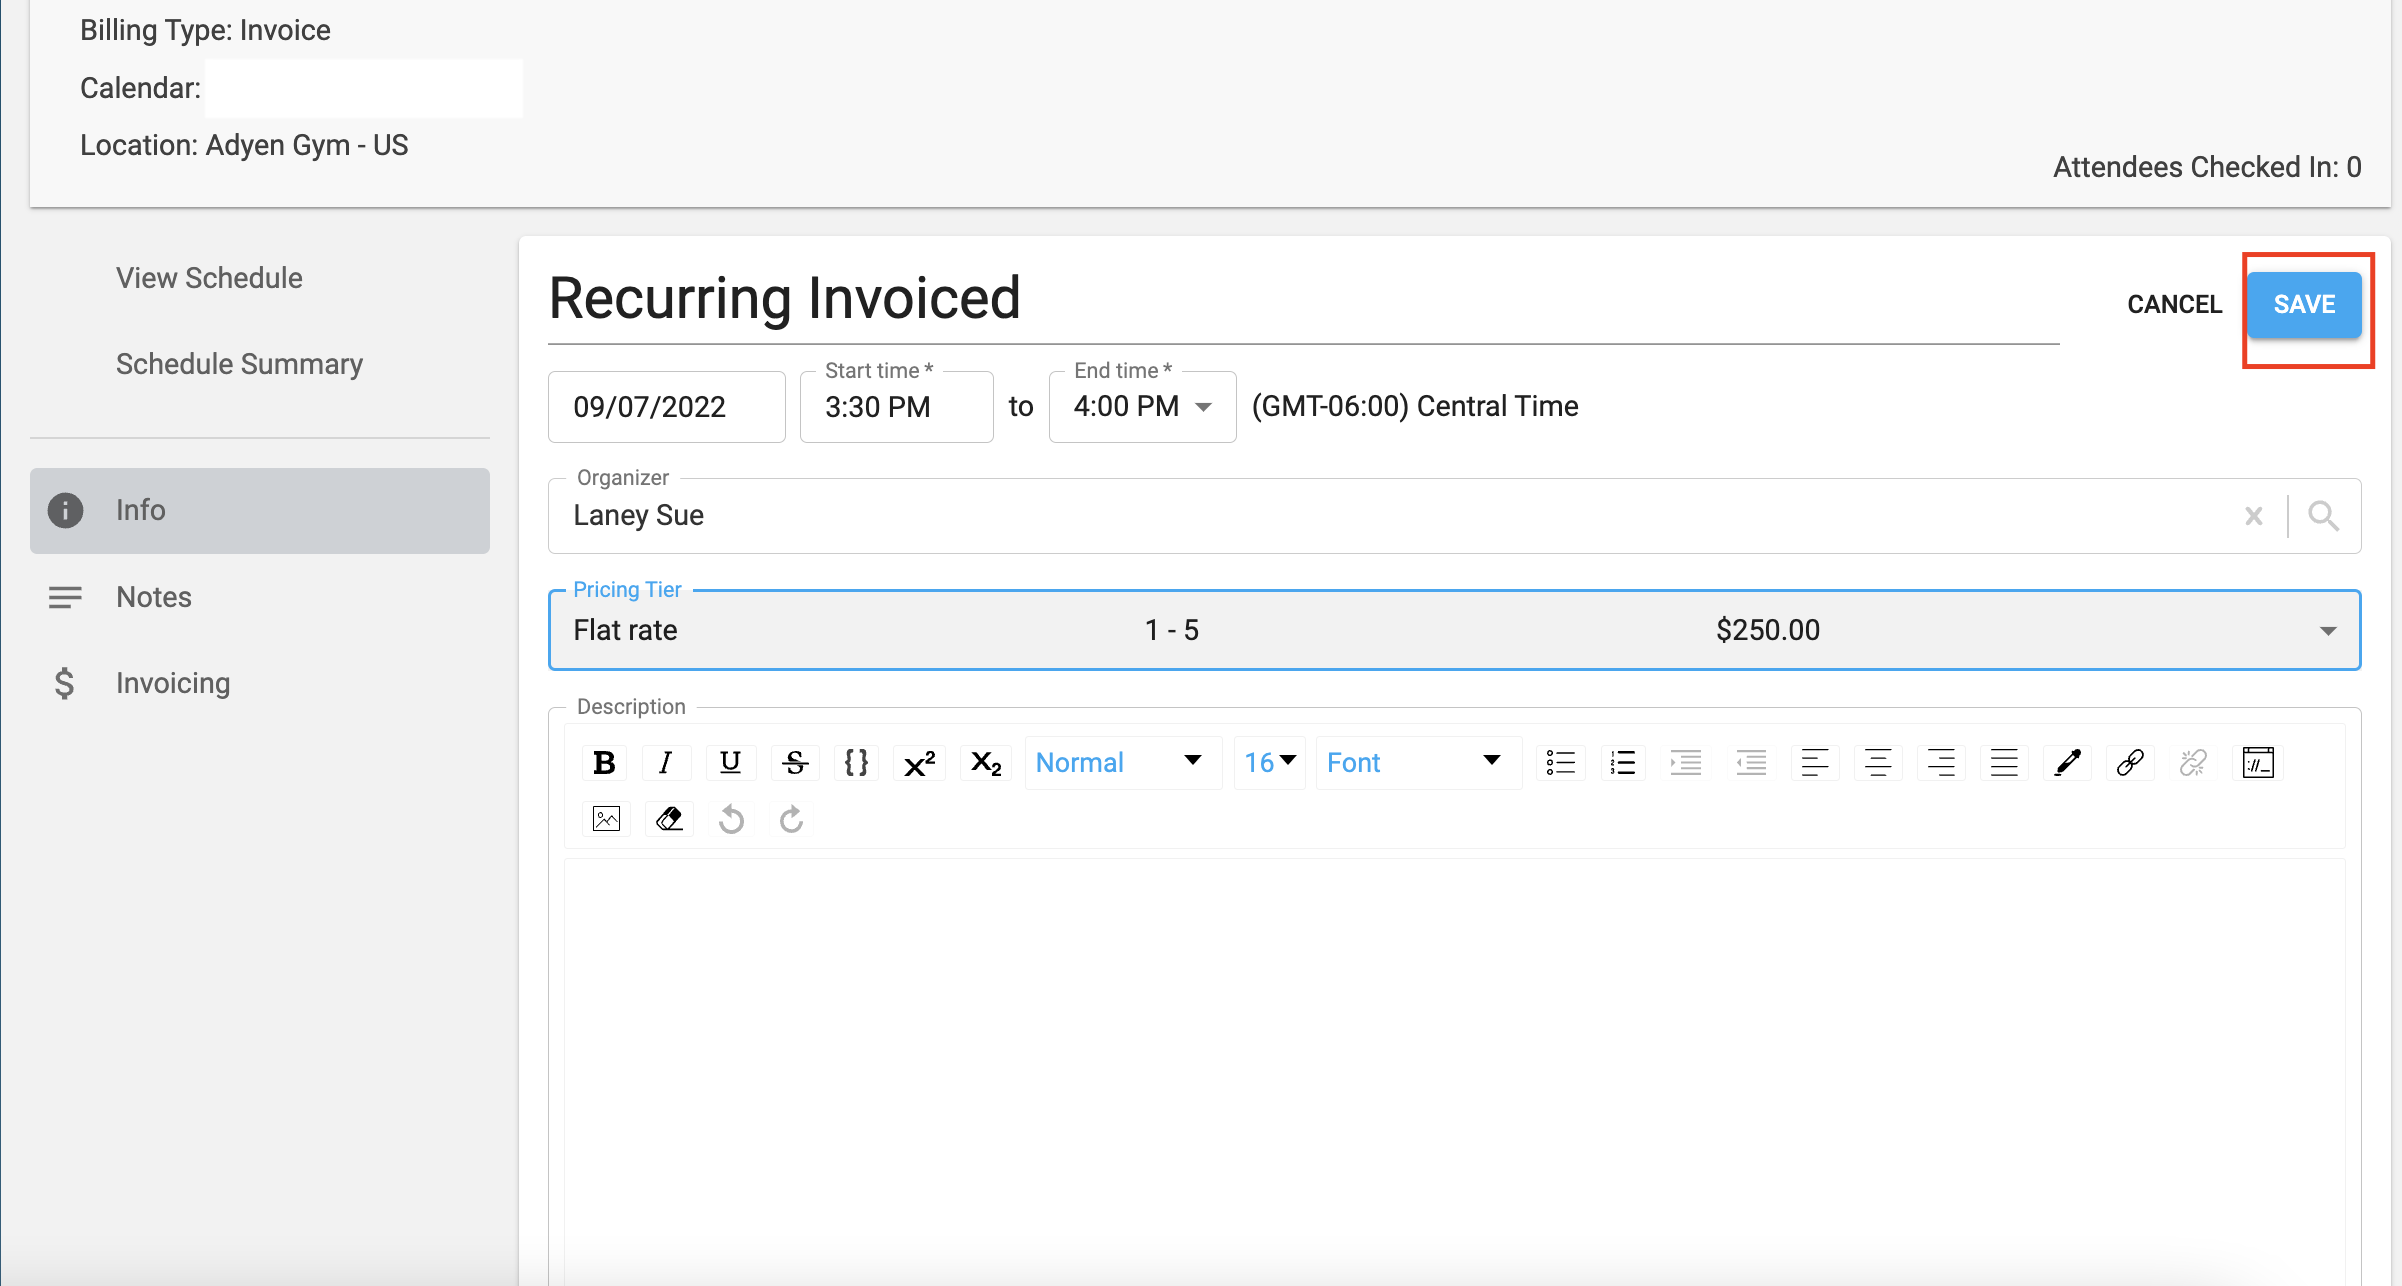
Creating an Invoice Event Recurring Schedule
- It has to be recurring and NOT a singular event (in the image below, the event repeats every Saturday)
- It has to be an "Invoice Event" (see 2nd red box in the image below)
After these two criteria have been met you can change the rest of the fields to your liking.


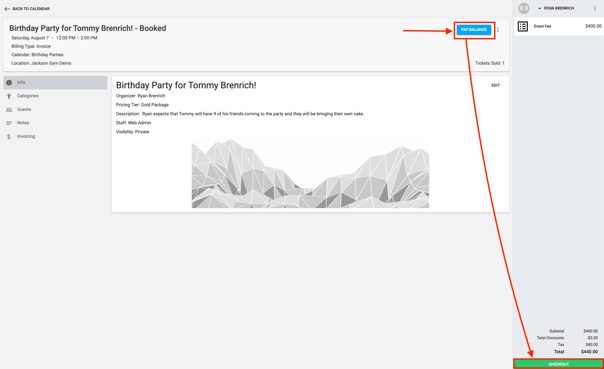
Reserving & Paying for an Invoice Event Booking

Note: The Deposit Value goes towards the Balance.
Additional Invoicing. Can I create an invoice?
- Within the invoiced event, click "Invoicing".
- Then click Generate Invoice.
- Next, fill in the details of the new Invoice and click Send. Clicking Send will record the new invoice as a pending order assigned to the Organizer. From here you can click on the order number, to take you to the pending order. Once you are on the pending order summary screen, you will have the option to either checkout the pending order or cancel it. Please proceed to checkout in order to charge the customer's card.
NOTE: At this time, you can only checkout custom invoices in-store. All additional invoicing will appear as a 'Fee' in your orders, and will have the same Revenue Category as the Pricing Tier that was chosen by the customer in your Reporting.
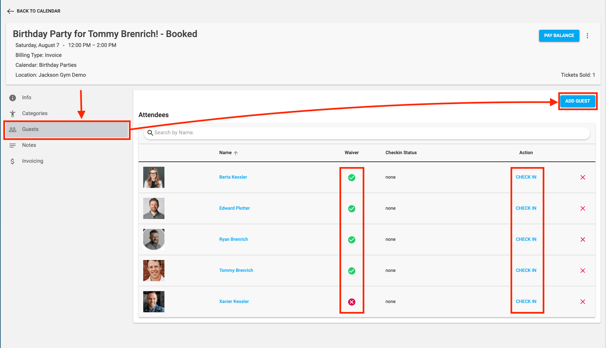
Adding Guests to Invoice Event Booking
Voiding a Check-In and Removing Guests
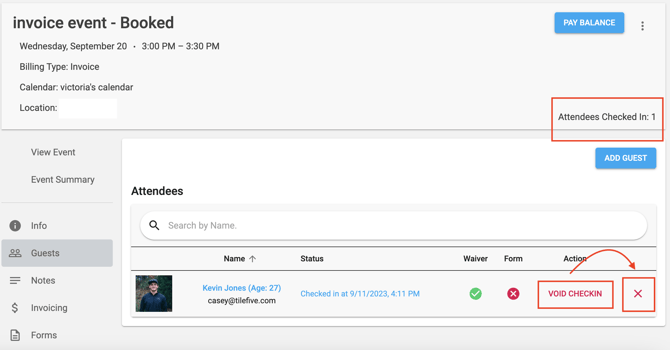
- In situations where you need to void the guest's check-in for any reason (e.g., the wrong customer is checked in), click the "Void Check In" option which will remove the check in from the check in count of the invoiced event.
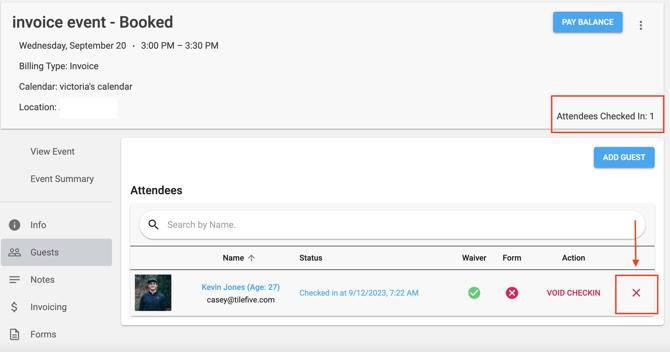
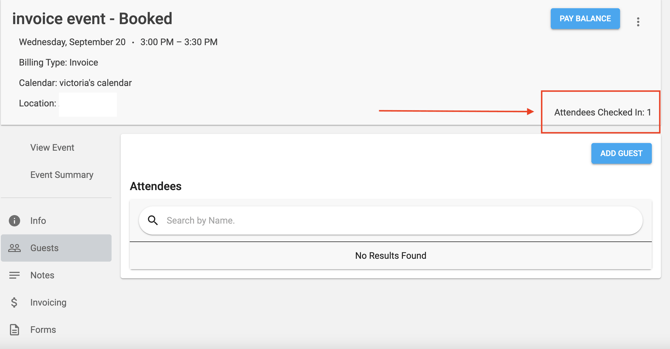
- After voiding the check-in, you'll have the option to click the "X" symbol next to the guest's name. This “X” removes the guest from the list.

Note: If you click "X" accidentally before voiding check-in, use the Previous Notifications list to void the check-in and reset the count. To learn how to Void a Check in from the Previous Notifications list, click HERE
- Select "X" WITHOUT voiding the check-in. This will remove the guest from the list without affecting the check-in count. This ensures that the price per head payment, which is based on the check-in count, remains accurate.
Event Example. Can I reserve an event without charging for it up front?
One question we get often is can I reserve an event without charging for it. The answer is yes you can. Here is an example of that and also a run down of how pricing tier billing works for price per head.
To set an event up with no advanced payment you will have to simply make the deposit $0. The price of the event will be determine by how you set up the rest of the pricing tier, either price per head, or flat rate. If the price is price per head, the event will cost the amount of the minimum plus each additional participant.
Ex: Pricing tier deposit is $0, Pricer per head is $20. Minimum attendees is 5. Max is 15. This event will cost $100 for the first 5 people. Each subsequent person will add $20 to the balance, up to 15 people. After 15 people, no more participants will be allowed to check in to the event. When the customer is ready to pay, once all participants have checked in, simply click pay balance and this amount will populate to the Organizer's cart.
If you have additional questions about invoiced events, drop us a line in the questions form in the main app or email us at CXM@approach.app.