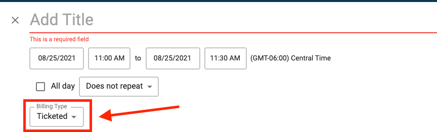
- Creating Single Ticket Events
- Creating Multi-day Ticket Events
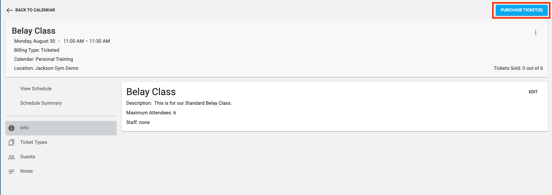
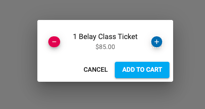
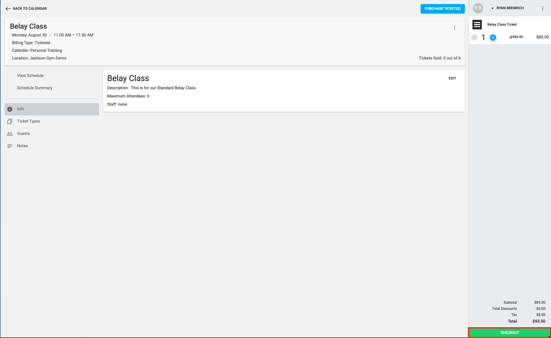
- Selling Tickets to Ticketed Events through the MainApp
What is the difference between a ticketed event and a multi-day ticket event?
Ticketed events are events where each individual is paid for individually for a single day event. Multi-Day function the same except of course they occur over the course of more than one day. The difference is to allow for more than one check in against a ticket.
Creating Single Ticket Events


Creating Multi-day Ticket Events
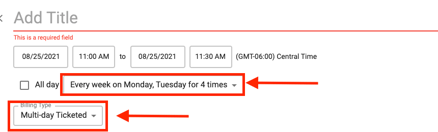

Note: At this time, you cannot create a recurring multi-day ticketed event. You will need to duplicate the event after creation.
Selling Tickets to Ticketed Events through the MainApp
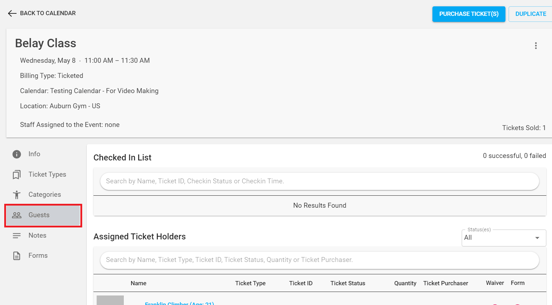
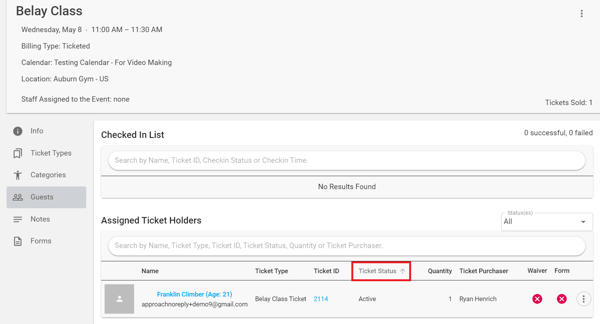
Using the Guest List
Customers who purchase a ticket will appear on the guest list of the event.
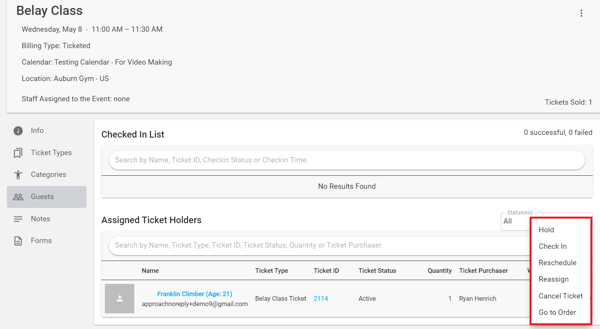
By clicking on the menu on the right side of the customer in the guest list you will have a couple of options.
Hold: This will hold the ticket. Once this is done the customer will no longer be able to check in with the purchased ticket.
Check-In: This will check the customer into the ticketed event.
Go to Order: This will take the user to the order that was used to purchase the ticket.
Note: Please read the following article in order to gain insight into how to reschedule, reassign, and cancel a ticket HERE.
Filters:
There is also an option to filter through ticket statuses. This will allow staff to customize what they want to see in the event guest list.
This Concludes the guide for Creating and Selling Ticketed Events.